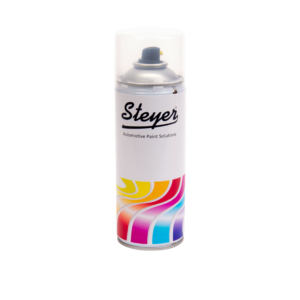
Mix 4:1 with activator this primer is very fast drying, high build and provides excellent coverage. Great for car body restoration and crash repairs.
• High build
• Fast drying
• Excellent coverage
• Overcoat with 2K, solvent Basecoat & 2K PU coatings
Available in 2 sizes and 2 different colours.
Priming a car with a 2K (two-component) primer involves a two-step process that typically includes a primer and an activator or hardener. It’s essential to follow the manufacturer’s instructions and safety guidelines carefully. Here’s a general guide on how to use 2K car primer:
Materials and Tools:
2K primer (base and activator/hardener)
Stir stick
Mixing cup
Respirator mask
Safety gloves
Sandpaper (various grits)
Surface cleaner or degreaser
Tack cloth
Spray gun
Air compressor
Steps:
Surface Preparation:
Start by preparing the car surface. Remove any rust, old paint, or imperfections using sandpaper.
Clean the surface thoroughly with a surface cleaner or degreaser to ensure there is no grease, wax, or contaminants.
Masking:
Mask off areas you don’t want to prime using masking tape and plastic sheeting.
Mixing the 2K Primer:
Read and follow the manufacturer’s instructions on the primer and activator packaging.
Put on your safety gear, including a respirator mask and gloves.
Pour the required amount of 2K primer into a mixing cup.
Add the specified amount of activator/hardener to the primer according to the manufacturer’s guidelines.
Mix the components thoroughly using a stir stick.
Letting the Mixture Sit:
Allow the mixed primer to sit for the recommended induction time. This is crucial for the chemicals to react properly.
Spraying the Primer:
Load the primer mixture into the spray gun.
Adjust the spray gun settings for the desired spray pattern and pressure.
Hold the spray gun about 6-8 inches away from the surface.
Apply the primer in even, overlapping passes, maintaining a consistent distance and speed.
Drying and Sanding:
Allow the primer to dry according to the manufacturer’s instructions.
After drying, lightly sand the primed surface with fine-grit sandpaper to create a smooth surface.
Cleaning and Tack Cloth:
Clean the surface again to remove any dust or debris.
Use a tack cloth to wipe the surface, ensuring it’s free of any remaining particles.
Applying Additional Coats (if necessary):
Depending on the condition of the surface and the primer used, you may need to apply additional coats, following the same process.
Always refer to the specific product instructions and guidelines provided by the primer manufacturer, as different products may have variations in application and drying times. Additionally, work in a well-ventilated area or use appropriate respiratory protection to ensure your safety.